
Vue2使用笔记11--菜单鉴权
更新日期:
最近在使用 Vue2 作为项目中前端的框架,《Vue2 使用笔记》系列用于记录过程中的一些使用和解决方法。本文记录将路由与菜单结合,对部分菜单不显示的逻辑实现。
路由嵌套的调整
前面我们在搭建整个应用的时候,路由和菜单的配置是分离的,这里我们要实现使用一个配置文件来同时控制菜单和路由。首先我们根据整个应用,来将路由进行嵌套转换。
嵌套路由
我们的应用界面,由多层嵌套的组件组合而成。同样地,URL 中各段动态路径也按某种结构对应嵌套的各层组件。
这里根据菜单我们能获取到层级结构:
1 | │ |
可以看到,我们路由的配置,要完全转换成菜单的配置,需要进行以下处理:
- 路由嵌套调整。
- 提供部分路由在菜单中隐藏的功能。
调整后我们的菜单配置:
1 | export default [ |
可见,我们使用了hideNav该参数来对需要的菜单进行隐藏。
文件路径调整
由于使用了路由嵌套,为了方便理解和管理,我们对相关的文件也调整了下位置:

至于每个文件夹里的index.vue,则是一个简单的路由内容展示:
1 | <template> |
Sidebar 调整
前面我们使用单独的配置选项,来控制菜单的层次展示、路由跳转,现在我们要直接从路由配置里面获取这样的信息:
1 | import routes from "../router/routes"; |
这里面由于部分配置参数的调整,我们对其他的逻辑主要修改:
- 模板里绑定的参数调整。
- 路由跳转,从使用
string调整为{name: menu.name}。 - 检测一级菜单是否激活的逻辑,使用
matched属性和name进行匹配。
检测的部分调整如下:
1 | checkMenuActived(name) { |
页面效果
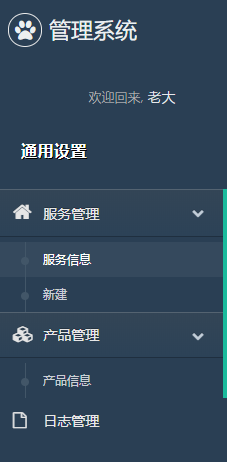
- 作为 owner 角色进入看到菜单:
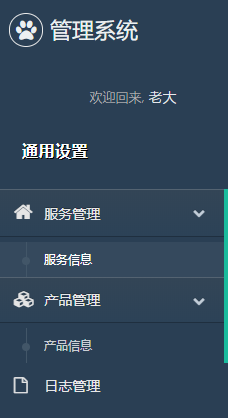
- 作为 maintainer 角色进入看到菜单:
结束语

码生艰难,写文不易,给我家猪囤点猫粮了喵~
查看Github有更多内容噢:https://github.com/godbasin
更欢迎来被删的前端游乐场边撸猫边学前端噢
如果你想要关注日常生活中的我,欢迎关注“牧羊的猪”公众号噢